


According to the Wall Street Journal, “Property listings that have improved photos tend to gain sizable increases in ROI- on average $116,000 more than the initial asking price.”
KK Hart, Owner(Expert)
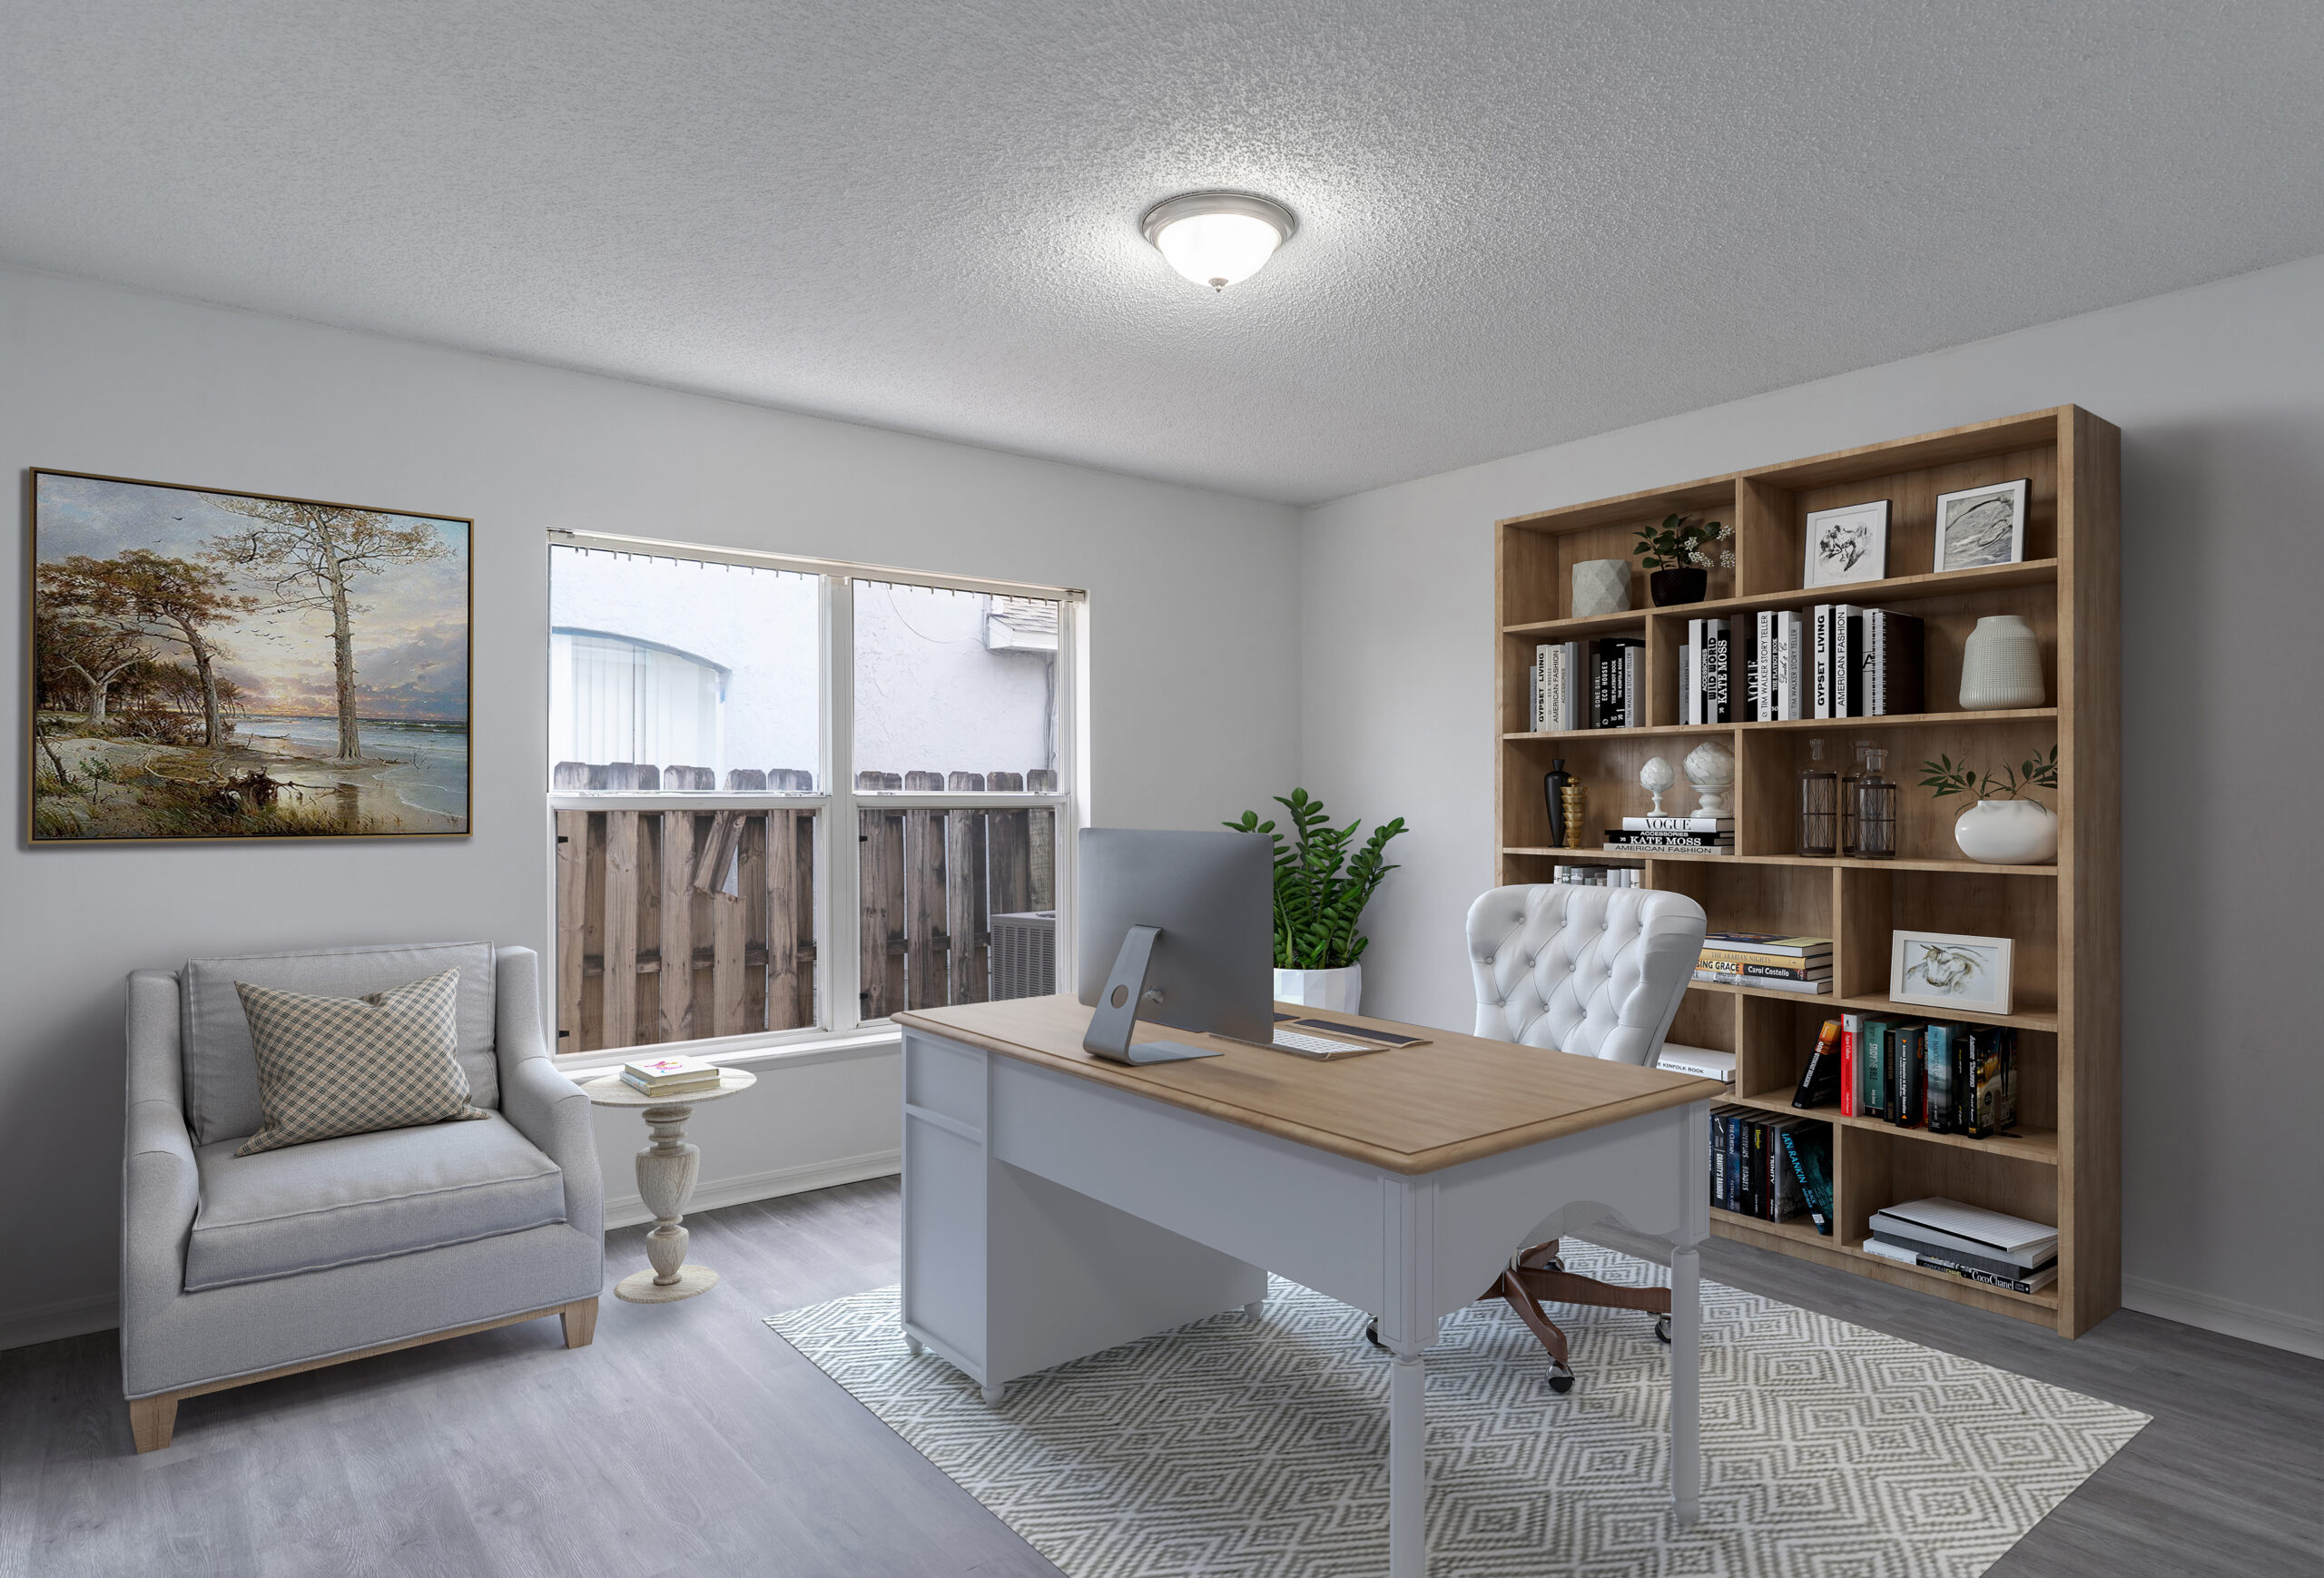
At some point or another time in our lives, we have focused our attention online at real estate listings and thought to ourselves, “wow.” “This place looks great,” or, “this is my dream home.” Maybe you have even thought of taking up photography as a skill, or you already currently work in the real estate industry and have taken listing photos yourselves instead of hiring a professional. While it is possible to improve your listing photos in a d.i.y fashion, since our expertise is in making real estate photos beautiful, we thought it may be helpful to provide some tips on the do’s and don’ts in real estate photography.
Did you know that the average buyer spends well over 60% of their time online looking at listing photos, and only about 20% at just listing details? With that being said, it’s very important to take great photos of real estate properties, because the photographs are essential in bringing in interest and ultimately getting the right buyer to see themselves in that property.
Now for some Real Estate Photography Dos:
1. Choosing the right time: Choosing the right time is very important for real estate photography. When scheduling a time for shooting, aim for day time hours. That way, you will get a lot of natural lighting, along with bright and saturated colors in your pictures. Some prefer to schedule shooting houses during sunset hours. If you are one of those people, these can undoubtedly be beautiful shots. The most important step there is that you want to make sure that the sun should be behind the house in order to catch good lighting.
If you missed your shot, no worries! As a company that specializes in virtual staging and renovation we can actually add sunset or photographic changes digitally so you can breathe a sigh of relief as you scramble to find the best shots! Bonus? It’s very cost effective and efficient to do- we turn our photos around in 24 to 48 hours… often sooner!
2. Examine the property: You don’t want to rush the photography process, as a first step, we recommend you geg to know and examine the property prior to showing up in person. We recommend you take two to three pictures of each room so you can examine these shots, identify features that should be considered and highlighted and especially any aspects of the property that best represent your listing. The best part about examining the property is that this process gives you a chance to get to know every aspect of the house and better understand how to sell it!
3. Open Blinds/windows: Keep in mind that natural light is your best option. No artificial light source can replace the sun… well, except perhaps our virtually staged, computer generated techniques. Don’t believe us? Take a look at some of our before and after images… the pictures look REAL!
4. Turn on all the lights: This is a simple do, but very useful when taking pictures in real estate. Toggling with the lights can achieve different effects. Keep in mind the additional light can often give the picture some warmth and coziness.
5. Use a wide-angle lens: A wide-angle lens allows you to capture more space in a single photo, giving your photos more depth and detail.
6. Choose a full-frame camera: The key to success for real estate photography is choosing the right camera. Full-frame cameras are perfect for real estate photography. However if you don’t have a full-frame camera on hand, choose a camera device with interchangeable lenses. Hint: Even if it’s your cell phone!
7. Use a tripod: Using a tripod enables you to get sharper, more stable photos without the need for professional; equipment such as flash, or years worth of professional experience.
8. Include hallways in your shots: Hallways spanning away from the room create a feeling of roominess that makes the shot more inviting.
9. Use props: Stage a bouquet of flowers or a fruit bowl. Props can add life. We use furniture, light fixtures and digital props to enhance photos when we virtually stage them… it truly does add a human element to it all!!
10. Perform some simple editing: Simple editing is a crucial part of the photography process- it’s also the hardest to do on your own. We’re always here to help, a free virtual staging or renovation quote is just a click away!
11. Don’t publish distorted images: Lenses may add some distortion in your photos, especially around the architectural features like archways. Look out for bowed features and seek to have them properly edited!
12. Hire a specialist: If you rather not go through all the work and trouble yourself, either hire a professional real estate photographer, or snap some pictures and send them our way. We love to make beautiful, virtually re-staged photos!
We Have You Covered on the Real Estate Photography Don’ts
1.Don’t shoot in bad weather: Inclement weather such as rain, snow and fog can have a bad effect on your photos. Use a weather app so you can plan accordingly, or work with a professional that may know their way around gloomy weather.
2.Don’t take poorly lit interior shots: Open windows for natural lighting, as mentioned before- natural lighting is your best option.
3.Don’t include excessive furniture: Having staged over 100,000 property listings, we know some spaces can be a bit difficult when trying to capture its charm and special aspects. The best way to go around this is to remove furniture, fixtures and clutter to create more space.
Pro tip: we hate this part! It’s so much work and takes much time, resources and coordination. Meanwhile, our 24-48 hour turnaround makes doing this process virtually a breeze, really!
4.Don’t capture messes: The biggest mistake one can make when taking real estate photos is to photograph a mess. Clear up and tidy up the room first. You also want to get rid of clutter, such as stacks of paper, trash cans, toiletries in a bathroom, etc.
Again, digitally removing the mess is something we do all day long. Save your precious time and sanity!
5. Don’t use a fish-eye lens: Although this may make a room look bigger, the fish-eye lens distorts photos too much to be of any use in real estate photography.
6. Don’t capture yourself in the mirror: Mirrors can be a nice touch to a room, since they can make it look bigger. But be sure to edit yourself out of any shots that reflect you.
7. Don’t leave personal items in the frame: Before you begin to take photos of the home, remove any personal items from the space. Such as family portraits, knick-knacks, really anything that does not contribute to a clean and clear appearance.
8. Don’t over edit your photos: Don’t be deceptive in the way you edit photos. Retouch them, but only to the extent that they still depict reality. If you’re going to virtually stage or renovate, simply disclose that in your listing so you remain transparent!
9. Don’t ignore vacant areas: Vacant shots are difficult to pull off. They call for emphasis on the natural aspects of the room or lot, and it’s surroundings. If possible, aerial/drone footage can work wonders in this type of scenario.
10. Don’t leave cars in the driveway: Leaving cars in a driveway diminishes the quality of the photography and makes the home looks less attractive- even if that car is a Lamborghini frankly! There’s a way to place the car strategically in the shot without necessarily blocking the house.
11. Don’t shoot from just one angle: When taking photos of a room, do not take a shot of a room from a single position. Just moving a few steps forward or away from a lighting spot can make all the difference.
12. Don’t post every photo you take: Pick general shots that you feel capture the best angles of your house. Be intuitive about how you represent the listing, no one wants to spend their day swiping through 100+ photos of the same room taken at different angles.
Now more than ever, photography has become arguably one of the most important aspects of selling real estate.
Just remember that when taking photos for the purpose of your real estate listings, you are not doing this for yourself or even the seller (even though they’re the ones who hired you!). You are taking photos for buyers who expect to use those photos to be able to envision themselves and their families in the property. You don’t necessarily need to get all the best gear. You can absolutely use what you have and take great listing photos. We’re here when you need us to digitally insert furniture and fixtures into your listing photos to make them stand out and attract the right buyer for the property!